Filling every empty centimeter of the build plate feels efficient because setup and warm-up are shared across more parts. That logic is incomplete. A detached model can damage neighboring parts, one long build can delay the entire order, and a late failure can erase days of capacity. The best batch size minimizes expected cost per accepted part while preserving a realistic recovery path.
3. Consider sequential printing when completed units need protection
Sequential mode completes one object before starting the next. A later failure may leave earlier objects intact, and reduced travel between parts can limit stringing. The tradeoff is collision clearance: the print head and gantry must move around already completed objects without striking them.
Use the slicer’s clearance checks and verify the physical printer geometry. Tall parts or tightly packed plates may not be eligible. Compare total duration, operator access, and recovery value rather than assuming sequential mode is faster. Its main economic benefit may be reducing the number of finished parts exposed to a later failure.
4. Protect lead time with recoverable production chunks
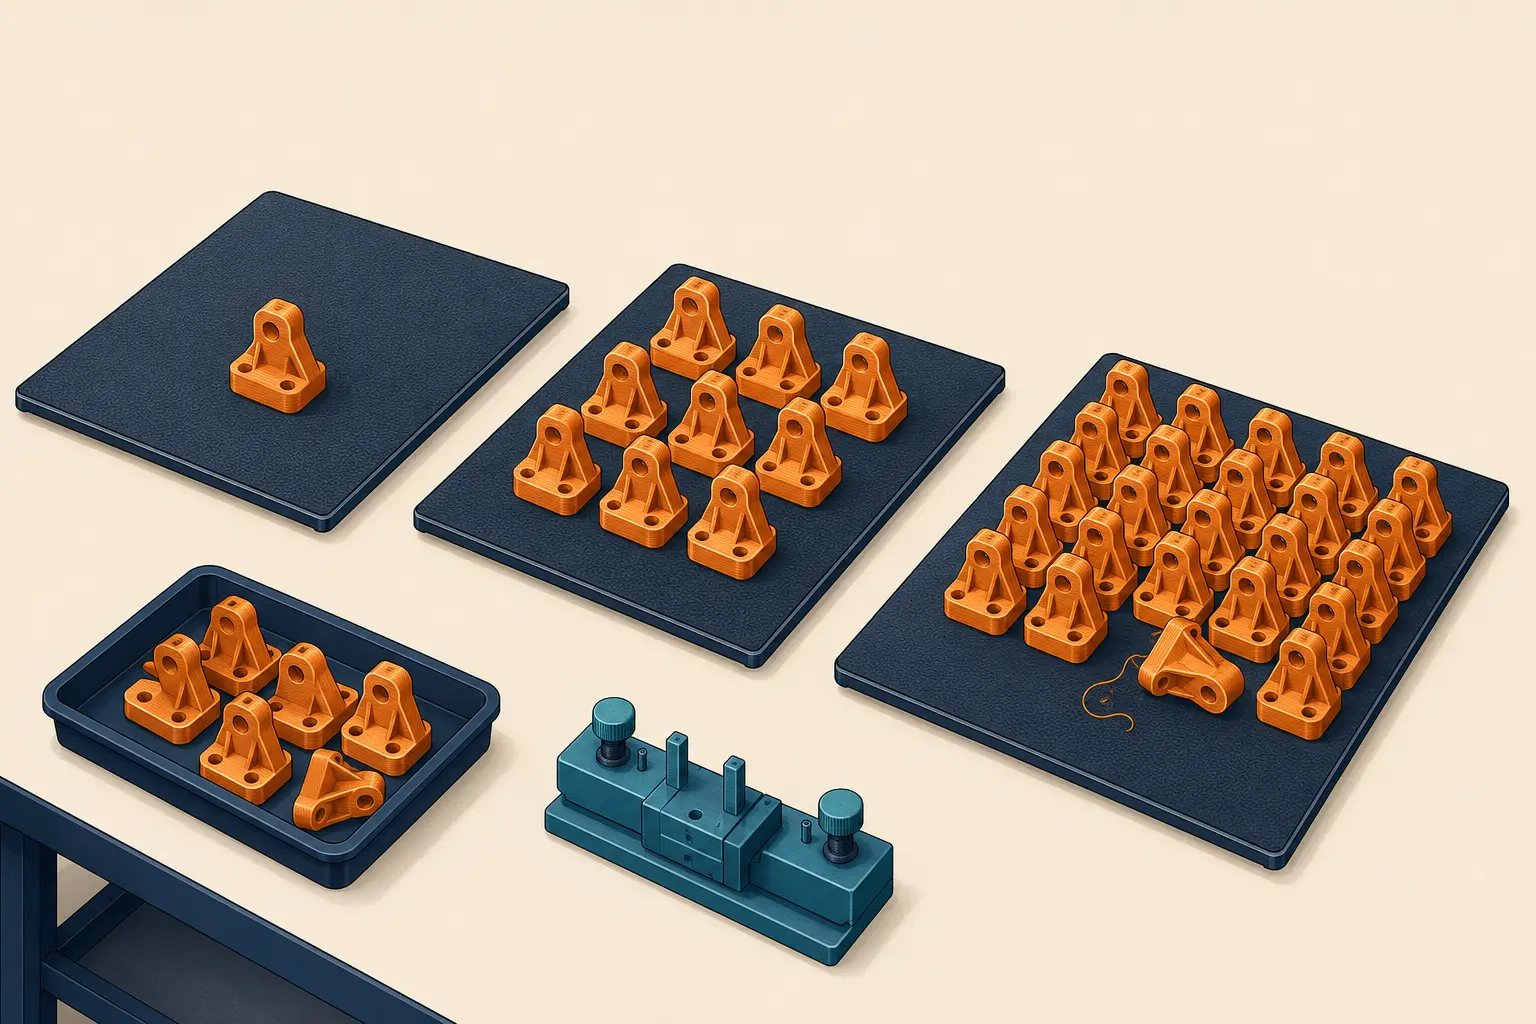
One forty-hour plate can show a low theoretical unit cost, but a failure at hour thirty-nine leaves almost no recovery time. Four ten-hour plates create more starts and removals yet deliver partial inventory sooner. The right choice depends on promised delivery, spare machine capacity, and whether the customer can accept partial shipments.
Reserve buffer time using the observed failure rate and the duration of the longest production event. For urgent or first-time jobs, distribute identical parts across machines or plates so one event cannot erase the whole order. A slightly higher expected cost may purchase a much more reliable delivery date.
5. Create validated batch sizes instead of improvising every order
For repeat products, save a small validation plate, a normal production plate, and a maximum-capacity plate. Document layout, material, support, brim, machine, removal method, cycle time, labor, and accepted yield. Operators can then choose a known recipe based on quantity and deadline.
Review the recipes when hardware, firmware, filament, or geometry changes. As evidence grows, increase the normal batch only if accepted yield and recovery time support it. Capacity planning becomes easier when each product has a dependable output per machine-day instead of a best-case slicer number.
References and further reading
These manufacturer and technical references support the workflow described above. Use them as a starting point, then validate costs and settings in your own workshop.
Test your numbers