A printer's power-supply rating is not its electricity bill. Bed and nozzle heaters cycle, motors change load, fans run at different speeds, and warm-up behaves differently from steady printing. A useful cost estimate therefore starts with energy measured across a representative job—not the largest wattage printed on the machine.
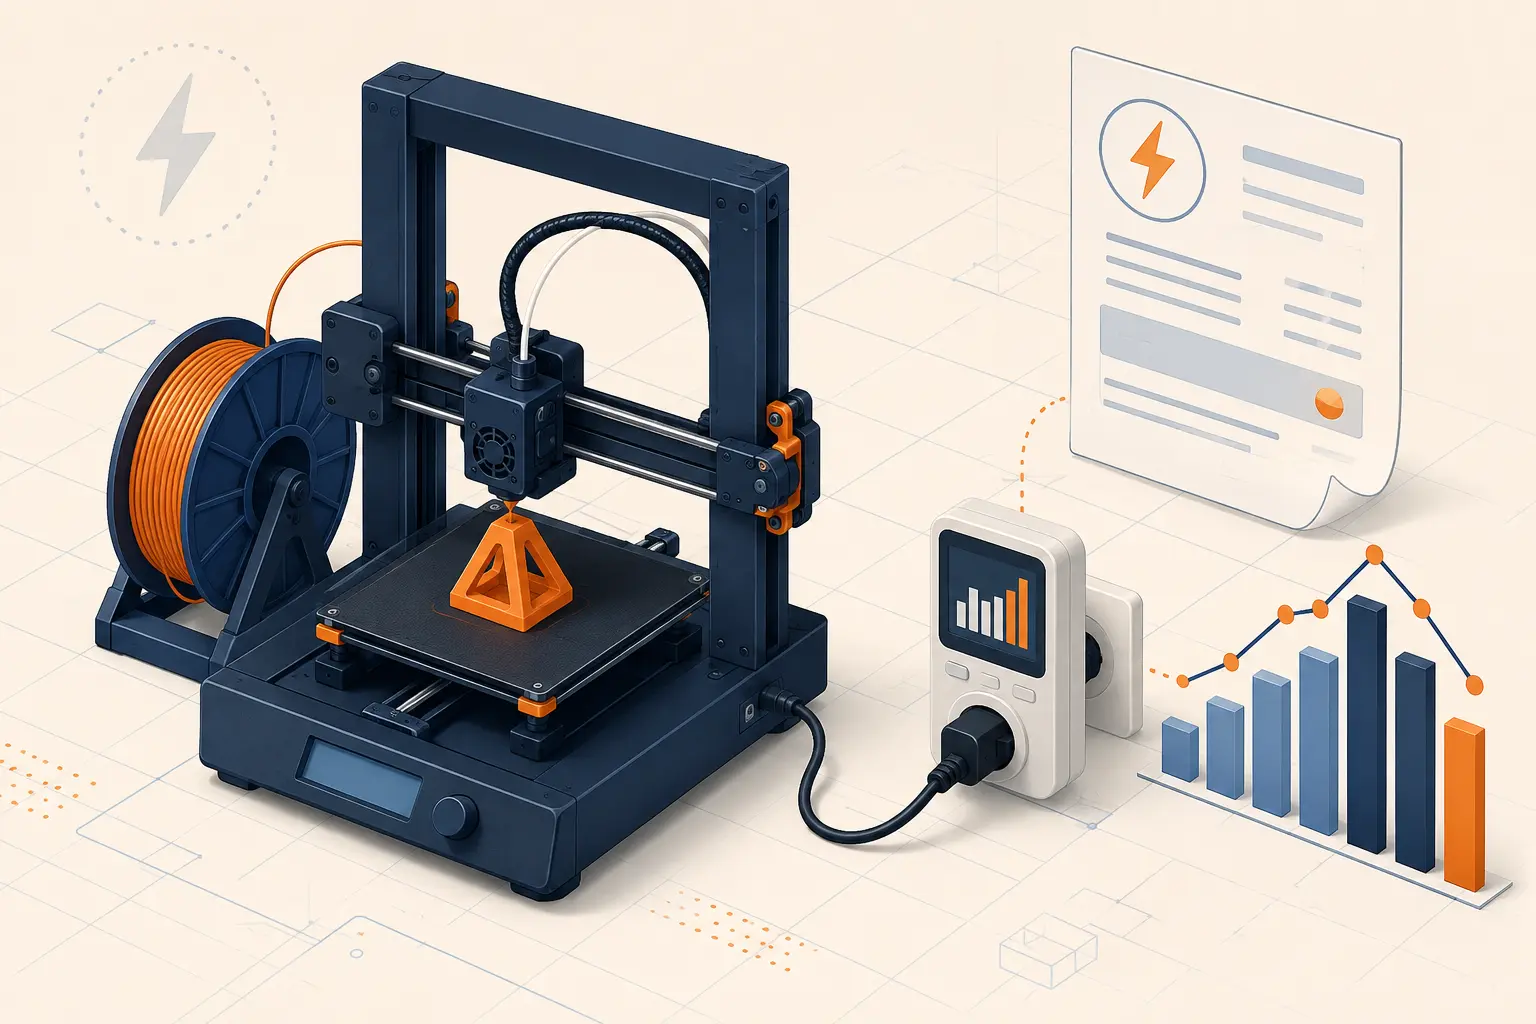
1. Do not multiply the power-supply rating by print time
The number printed on a power supply describes an output limit, not continuous wall consumption. During warm-up, the bed and hotend can draw heavily together. Once temperatures stabilize, their control cycles switch power on and off while motors, electronics, and fans use a smaller background load. Enclosures, heated chambers, ambient temperature, bed size, material temperature, and printer design can change the profile substantially.
Manufacturer examples are useful only as reference points. Prusa reports measured average values for particular MK-series conditions, but those figures should not be transferred to a different printer, room, or material without checking. Use them to test whether your measurement is plausible—not to replace it.
2. Measure the complete production cycle with a plug-in energy meter
Connect a correctly rated plug-in energy meter between the wall outlet and printer. Reset its cumulative kWh reading, then measure from the start of preheating through printing and the cooldown period you consider part of production. If an enclosure heater, filament dryer, wash station, computer, or extraction fan is required for the job, measure it separately so the cost remains traceable.
Repeat the test for the profiles that actually change energy use: for example PLA on an open printer, a higher-bed-temperature material, and a long idle-hold workflow. A single five-minute calibration cube overweights warm-up; a representative multi-hour job gives a more useful average. Record room temperature and any unusual pauses that would make the run unrepresentative.
- Use a meter rated for the local mains voltage and expected current.
- Measure warm-up, printing, and the chosen cooldown boundary.
- Keep dryers, chambers, extraction, and computers as separate lines.
- Repeat abnormal runs instead of turning them into a permanent baseline.
3. Convert cumulative kWh into the cost of one accepted part
Multiply the meter's cumulative kWh by the electricity price that applies to the workshop. Use the marginal rate when the tariff changes by time or consumption band. For a shared commercial space, document whether taxes or demand charges are included rather than mixing a household estimate with a business invoice.
For a batch, divide the job's energy cost by the number of accepted parts, not merely the number placed on the plate. If four units print and one is rejected, the three sellable units must absorb the full measured energy. Keep the failed-output adjustment visible so energy is not counted twice inside a separate generic failure percentage.
4. Use average watts only as a documented temporary estimate
If a meter is not yet available, use a measured average from the same printer model and similar conditions when possible. Convert average watts to kilowatts, multiply by hours, and clearly label the result as an estimate. Do not use the peak power-supply label unless the goal is an intentionally conservative upper bound.
Replace the estimate after several real jobs. The difference between an 80 W and 140 W average is only 0.30 kWh across five hours, so labor, failure risk, and machine time often dominate the quote. Precision is still valuable, but it should be proportional to the size of the cost line.
5. Reduce waste without weakening temperature control
The strongest energy improvement is often shorter reliable machine time: appropriate layer height, nozzle size, batching, and motion settings can reduce hours while preserving the part. Avoid lowering nozzle or bed temperature below a validated range merely to save a small amount of power; poor adhesion or a failed job consumes more material, labor, and energy than a stable profile.
Insulation, enclosure management, scheduled shutdown, and avoiding long heated idle periods can help where they are safe and compatible with the machine. Compare changes through accepted output per kWh. A lower meter reading is not an improvement if dimensional quality or yield falls.
6. Keep electricity visible, but focus first on the larger cost drivers
Electricity belongs in a complete cost model because it scales with machine time and becomes material across many printers. For a single desktop FDM job, however, operator minutes, depreciation, maintenance, packaging, fees, and rejected output can be much larger. Show power as its own line so that no one mistakes a small energy bill for a complete production cost.
Review the rate and representative measurements when the printer, material, enclosure, tariff, or workflow changes. Otherwise, reuse the validated kWh-per-hour profile and spend your measurement effort on variables that move the final quote more strongly.
References and further reading
These manufacturer and technical references support the workflow described above. Use them as a starting point, then validate costs and settings in your own workshop.
Test your numbers