The simple answer is 1,000 divided by grams per part. The useful answer is lower. A production spool must also cover supports, brim, purge, calibration, changeover loss, unusable remainder, and failed output. Start with the slicer's total purchased grams, then convert nominal quantity into expected accepted parts.
Flagship calculator
1kg filament yield calculator
Compare the simple 1,000 g division with a planning result that includes process material, a spool reserve, and expected rejects.
MODELED INPUTS — replace these values with the final slicer summary and your own planning policy.
Quick comparison using the current assumptions
| Part weight | Simple 1,000 g ÷ weight | Conservative accepted parts |
|---|---|---|
| 10 g | 100 | 59 |
| 20 g | 50 | 36 |
| 50 g | 20 | 16 |
| 100 g | 10 | 8 |
| 200 g | 5 | 3 |
planned attempts = floor((1,000 − reserve) ÷ (part grams + process grams)); expected accepted = attempts × (1 − failure rate)
Calculation Model
Turn nominal spool mass into accepted-part yield
Question: How many saleable parts can one spool support after reserve, process structures, and rejects?
This is a discrete yield model, not a spool test. Use the labeled net mass and the slicer's full per-attempt consumption; the rows below vary one planning assumption at a time.
planned attempts = floor(usable spool grams ÷ total consumed grams per attempt); expected accepted parts = planned attempts × acceptance rateVariables
Replace every example input with the job being quoted
| Symbol | Meaning | Unit | Input source |
|---|---|---|---|
| U | Usable filament after the chosen reserve | g/spool | Labeled net mass minus an explicit planning reserve |
| G | Total material consumed per attempt | g/attempt | Slicer total including model and process structures |
| A | Expected acceptance rate | % | User-entered planning assumption or comparable job records |
| Q | Whole attempts possible | attempts | floor(U ÷ G) |
Scenario Analysis
Modeled example results
These are arithmetic examples—not measurements, tests, benchmarks, or claims about typical printers. Change the inputs to see which assumption controls the decision.
| Modeled scenario | Inputs changed | Example result | How to read it |
|---|---|---|---|
| Baseline reserve | U = 950 g; G = 50 g; A = 95% | 19 attempts; 18.05 expected accepted | Commit no more than 18 whole accepted parts when planning conservatively. |
| More process material | U = 950 g; G = 60 g; A = 95% | 15 attempts; 14.25 expected accepted | Ten extra grams per attempt reduces the planning quantity by four parts. |
| Lower acceptance | U = 950 g; G = 50 g; A = 85% | 19 attempts; 16.15 expected accepted | Yield risk can matter even when slicer grams do not change. |
| Larger spool reserve | U = 900 g; G = 50 g; A = 95% | 18 attempts; 17.10 expected accepted | A 100 g total reserve removes one physical attempt before acceptance is applied. |
Workflow validation checklist
Validate the planning inputs before promising a quantity
This checklist documents the source and scope of each input. It does not require or imply a site-run spool test.
Inputs to validate
- Confirm whether U uses the spool's labeled net mass or the remaining amount available to this job.
- Use total slicer consumption per attempt for G, not finished-part mass alone.
- Treat A as your chosen planning assumption unless you have comparable records for the same setup.
What to record in your workflow
- Save the model revision, slicer profile, material, color, plate quantity, and quote date.
- Record total grams and only the model, support, purge, or tower categories the slicer actually shows.
- Keep the reserve, acceptance assumption, and whole-part rounding rule beside the promised quantity.
Scenario inputs
- Compare conservative, base, and high values for usable grams U without changing G or A at the same time.
- Recalculate G for each plate layout instead of dividing one plate total across a different quantity.
- Run a separate acceptance-rate range for every materially different model, material, or profile.
Assumptions & Limitations
Assumptions to replace
- The 1,000 g label is nominal; use the net mass printed for the purchased spool.
- The 950 g allowance in the example is editable and is not a measured loss rate.
- Total grams include model, support, brim/raft, purge, tower, and shared plate structures.
- Acceptance rate belongs to the same model, material, profile, and production layout.
When not to use the result
Where the model can be wrong
- A partially used spool is estimated visually instead of weighed or tracked.
- Plate-level purge or brim is divided by the wrong accepted quantity.
- Different colors or support materials are collapsed into one price.
- A profile, geometry, or batch-size change makes the saved slicer total obsolete.
1. Divide usable spool grams by total grams consumed per part
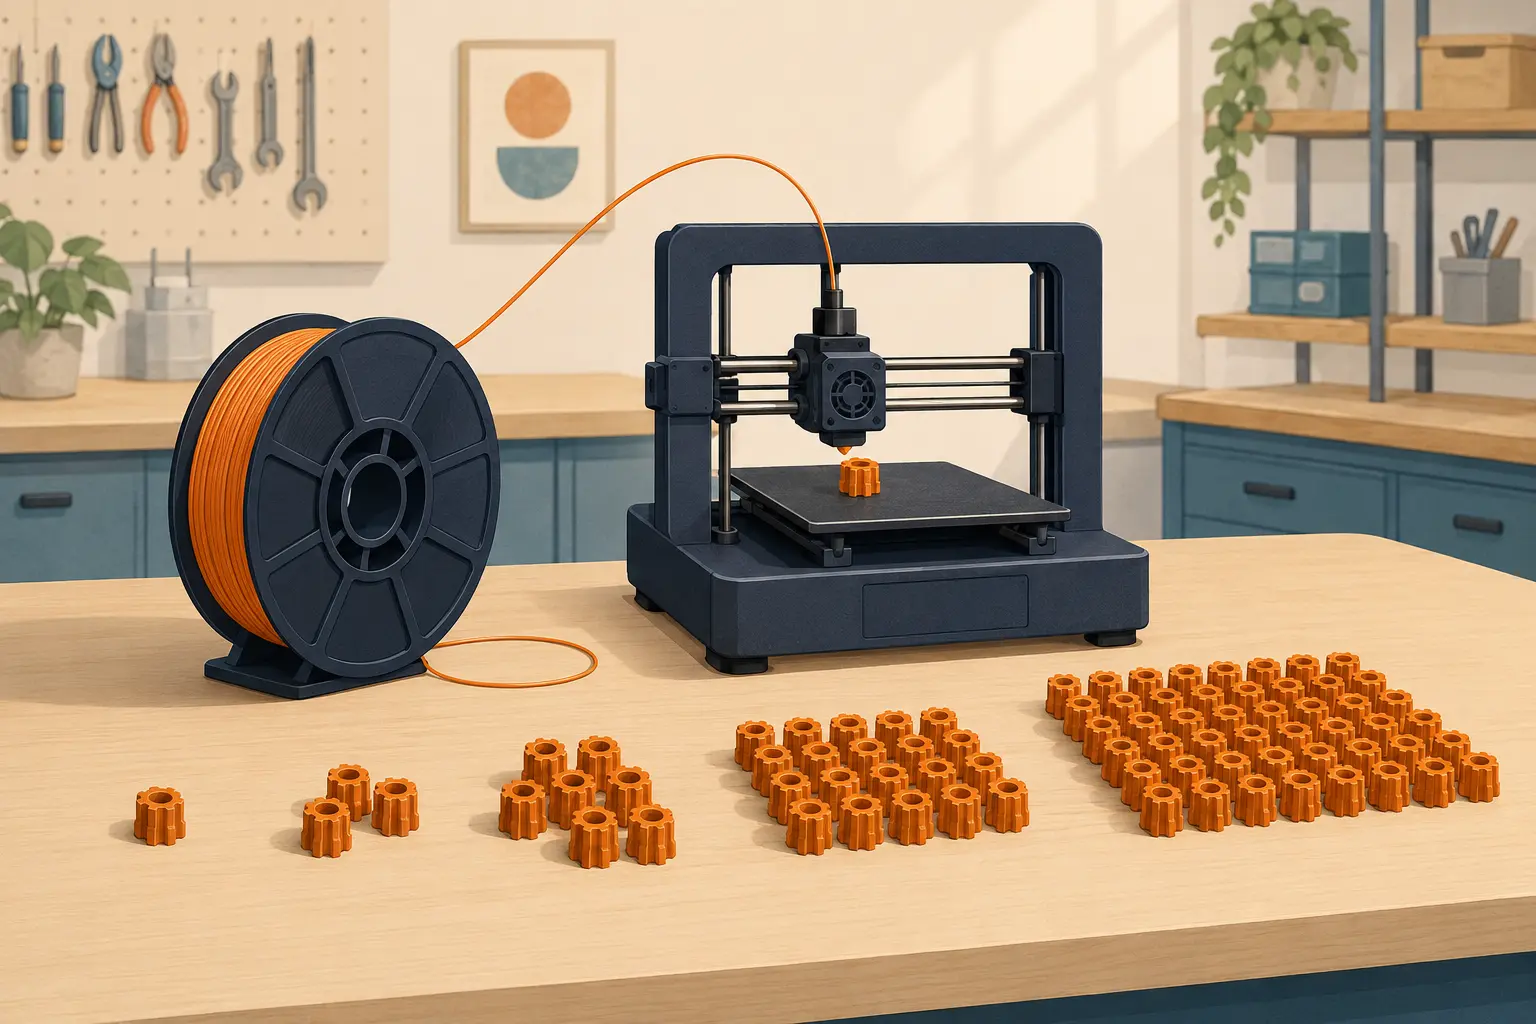
If a complete single-color job consumes 50 g per accepted part, the theoretical maximum from a nominal 1,000 g spool is 20 parts. This is a planning ceiling, not a production promise. The spool label, slicer profile, support, purge, startup extrusion, remaining tail, and failed output determine the real count.
Use the filament mass printed on the product label rather than assuming every spool contains exactly 1,000 g. Keep spool and filament mass separate when weighing inventory. If a scale shows the complete spool, subtract the known empty-spool mass for that exact spool design.
The table uses a nominal 1,000 g spool and a conservative 950 g planning allowance. The allowance is not a universal loss rate; replace it with purchasing and completed-job records from your workshop.
2. Use the slicer's full job total, not model-body weight
A product that contains 42 g of plastic may consume 50 g after support, brim, skirt, purge, and a shared prime structure are included. Use the full slice total for the planned quantity and keep the categories visible so later optimization has a target. For a batch, divide plate-level structures by the number of units on the plate.
Compare the same product at realistic batch quantities. Four copies may use less than four times the brim or transition structure, while a full plate can require a larger safety margin because one failure affects more inventory. The correct grams per part come from the production layout you intend to run.
If different colors or materials have different prices, a total gram count is enough for physical yield but not for cost. Preserve grams by spool so the inexpensive main body and premium support or accent material are not priced at one artificial average.
3. Set a documented reserve for changeover and unusable remainder
Production rarely consumes a spool to the last nominal gram. A tail may not reach the drive gears, the remaining quantity may be too uncertain for a long job, or material may be used for loading, purging, calibration, test lines, and maintenance. Moisture-damaged or tangled material can also leave an unusable remainder.
Do not copy a fixed five-percent reserve forever. Start with a cautious allowance if records are missing, then log opening weight or labeled mass, material assigned to jobs, scrap, and final remainder. Several completed spools reveal the usable percentage for that supplier, spool type, printer fleet, and workflow.
Small parts are sensitive to rounding. A 30 g reserve removes only part of one 100 g product but can remove several 8 g products. Always round down to a whole accepted unit and retain the leftover grams as inventory rather than imaginary revenue.
4. Convert printed quantity into expected accepted quantity
A spool can physically print twenty jobs and still produce fewer than twenty saleable parts. First-layer failures, support damage, dimensional rejection, color defects, stringing, warping, and post-processing damage all consume filament. Use a success rate from similar products, materials, and profiles instead of a site-wide average.
If the planned physical output is 20 parts and the recorded acceptance rate is 90%, the expectation is 18 accepted parts. This is a planning average, not a promise that every spool will fail exactly twice. Use enough completed jobs to avoid overreacting to one good or bad run.
Keep rework separate when a rejected part can be repaired and sold to the same standard. The relevant yield is accepted output delivered from the purchased grams, including any extra material consumed by repair.
5. Build a production estimate from one sliced part
Assume a product body uses 44 g, support and brim add 5 g, and shared purge averages 1 g per unit. Total purchased consumption is 50 g. A 950 g usable allowance gives 19 physical parts. With a 95% acceptance rate, expected accepted output is 18.05, so a conservative customer commitment should not exceed 18 without backup material.
If the $25 spool is allocated across 18 accepted parts, filament purchase cost is about $1.39 per accepted part. Dividing $25 by the theoretical twenty parts would give $1.25 and understate material cost before machine time, labor, packaging, fees, and margin are added.
All figures in this example are assumptions. Replace them with the labeled net mass, slicer totals, completed-spool reserve, and accepted-output records for the product being quoted.
6. Use spool yield to promise quantity and schedule purchasing
Before accepting an order, divide available usable grams by the production slice total and compare the result with the required accepted quantity. Add a delivery buffer when the exact color, batch, or material cannot be replaced quickly. A half-used spool should be treated by measured remaining filament, not by a visual guess from the coil diameter.
For repeat products, store model revision, slicer profile, color or material, batch quantity, grams per plate, accepted units, and leftover scrap in the job record. Update the product's standard yield when a design or profile changes. This also reveals when a cheaper spool creates more waste or failures and is not actually cheaper per accepted part.
Spool yield sets only the material quantity. A selling price must still include machine hours, electricity, direct labor, depreciation, maintenance, packaging, platform fees, tax treatment, and profit. Use the FDM cost calculator after the physical yield is realistic.
- Confirm the labeled net filament mass for the purchased spool.
- Use full slicer grams for the intended production batch.
- Replace the temporary reserve with completed-spool records.
- Apply a product- and profile-specific acceptance rate.
- Round commitments down and keep backup material for deadlines.
References and further reading
These manufacturer and technical references support the workflow described above. Use them as a starting point, then validate costs and settings in your own workshop.
Test your numbers